Crocheting a Santa Claus figure is a fun project for beginners! Below is a simple, step-by-step guide to crochet a basic Santa Claus. You can make this mini Santa for decorations, ornaments, or just as a cute handmade gift.
Materials:
- Yarn: Red, white, black, and skin-tone (peach or beige)
- Crochet Hook: Size G (4.0mm)
- Fiberfill Stuffing
- Yarn Needle
- Safety Eyes (optional, or you can embroider eyes)
- Scissors
Abbreviations:
- ch = chain
- sl st = slip stitch
- sc = single crochet
- dc = double crochet
- inc = increase (2 sc in same stitch)
- dec = decrease (single crochet 2 together)
Notes:
- This pattern is worked in continuous rounds (no turning).
- You can add more details like a beard or a pom-pom hat for extra decoration, but this is a very basic version for beginners.
Step-by-Step Guide:
Head (Skin Tone):
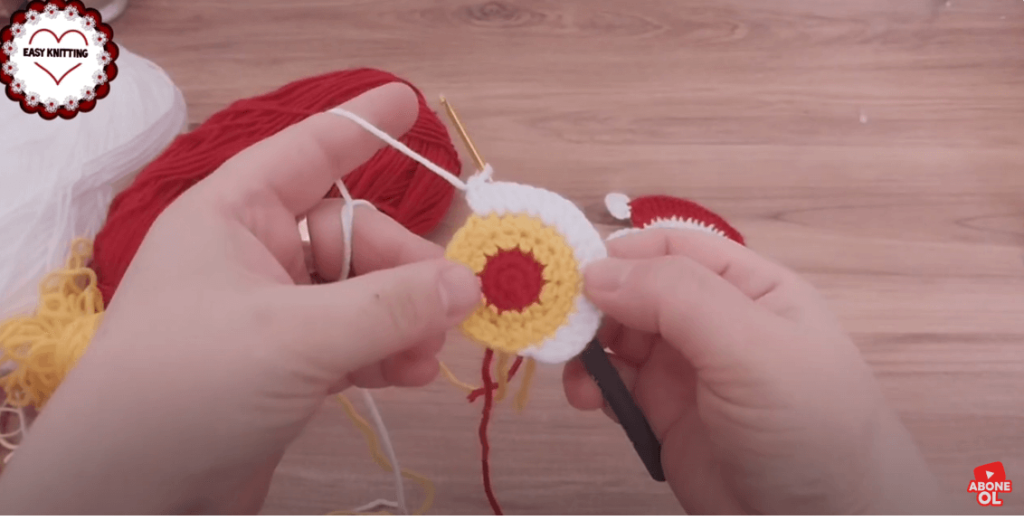
- Round 1: Start with a magic ring, ch 1, and work 6 sc into the ring.
(6 sc) - Round 2: Inc in each stitch around.
(12 sc) - Round 3: 1 sc, inc around.
(18 sc) - Round 4: 2 sc, inc around.
(24 sc) - Round 5: 3 sc, inc around.
(30 sc) - Rounds 6-9: Sc in each stitch around.
(30 sc for each round) - Round 10: 3 sc, dec around.
(24 sc) - Round 11: 2 sc, dec around.
(18 sc) - Round 12: 1 sc, dec around.
(12 sc) - Round 13: Dec around until closed.
(6 sc) - Fasten off, leaving a long tail for sewing. Stuff the head lightly with fiberfill.
Body (Red):
- Round 1: Start with a magic ring, ch 1, and work 6 sc into the ring.
(6 sc) - Round 2: Inc in each stitch around.
(12 sc) - Round 3: 1 sc, inc around.
(18 sc) - Round 4: 2 sc, inc around.
(24 sc) - Rounds 5-9: Sc in each stitch around.
(24 sc for each round) - Round 10: 2 sc, dec around.
(18 sc) - Round 11: 1 sc, dec around.
(12 sc) - Round 12: Dec around until closed.
(6 sc) - Fasten off, leaving a long tail. Stuff the body lightly.
Hat (Red with White Trim):
- Round 1: Start with a magic ring, ch 1, and work 6 sc into the ring.
(6 sc) - Round 2: Inc in each stitch around.
(12 sc) - Round 3: 1 sc, inc around.
(18 sc) - Round 4: 2 sc, inc around.
(24 sc) - Round 5: Sc in each stitch around for 5 rounds.
(24 sc each round) - Round 6: 2 sc, dec around.
(18 sc) - Round 7: 1 sc, dec around.
(12 sc) - Round 8: Dec around until closed.
(6 sc) - Fasten off and leave a long tail for sewing. Stuff the top lightly.
White Trim:
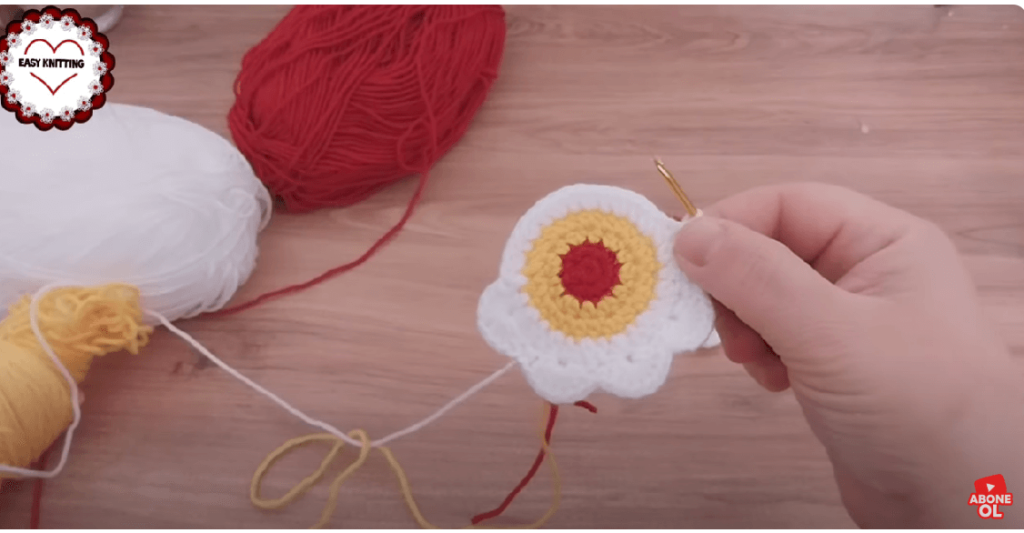
- Join the white yarn to the edge of the hat and work a round of sc around the opening for the brim.
- You can make this as wide as you like by repeating sc rounds.
Arms (Red with White Cuffs):
- Round 1: With red yarn, make a magic ring and work 6 sc into the ring.
(6 sc) - Round 2: Inc in each stitch around.
(12 sc) - Round 3-6: Sc in each stitch around.
(12 sc for each round) - Round 7: Switch to white yarn, sc around for 1 round.
- Fasten off, leaving a long tail for sewing. Stuff lightly.
Legs (Red with Black Shoes):
- Round 1: With red yarn, make a magic ring and work 6 sc into the ring.
(6 sc) - Round 2: Inc in each stitch around.
(12 sc) - Round 3-6: Sc in each stitch around.
(12 sc for each round) - Round 7: Switch to black yarn, sc around for 1 round to create the “boots.”
- Fasten off, leaving a long tail for sewing. Stuff lightly.
Assembly:
- Attach the head to the body: Using the long tail from the head, sew the head securely to the body.
- Attach the arms: Sew the arms on either side of the body, around rounds 6-7.
- Attach the legs: Sew the legs to the bottom of the body, around rounds 10-11.
- Add the hat: Place the hat on top of the head, ensuring it sits properly.
- Embroider or add eyes: If you’re using safety eyes, attach them between rounds 4 and 5 of the head. Otherwise, you can embroider two small black dots for the eyes with a yarn needle.
Optional Details:
- Beard: You can crochet a simple beard by chaining 6, turning, and working 1 sc into each chain for a few rows. Attach this under the nose.
- Nose: Crochet a small piece using the skin-tone yarn and sew it on.
- Mustache: Use white yarn to stitch a small mustache under the nose.
And that’s it! You’ve made a simple crochet Santa Claus. You can customize it further by adding details or changing the colors. Enjoy your holiday crafting!
Video Tutorial :


